Appearance
MailerLite Installation
Follow these steps to install the eContractor plugin on your MailerLite site.
Edit Your Website
- From your MailerLite Dashboard, select Sites.
- Find the website where you want to install the plugin and click Edit to open the MailerLite editor.
Create the Shop Page
- In the editor, select
Create New->Page. - Name the page anything you like - common choices include:
ShopBuy FiltersOrder Filters
Add the Plugin to the Page
- While editing your new page, click on the blocks section in the right-hand sidebar.
- Search for the
HTML Codeblock and drag it onto the page. - Click on the HTML placeholder block to open the
Custom HTML Codesection on the right-hand side. - Paste the following code into the input field:
html
<script src="https://d1vc0si56f5gt.cloudfront.net/ff-plugin.umd.min.js"></script>

<ff-plugin></ff-plugin>Final Step: Deploy Your Changes
Once everything is in place, you will see an alert titled Your Almost There!
What does the alert look like?
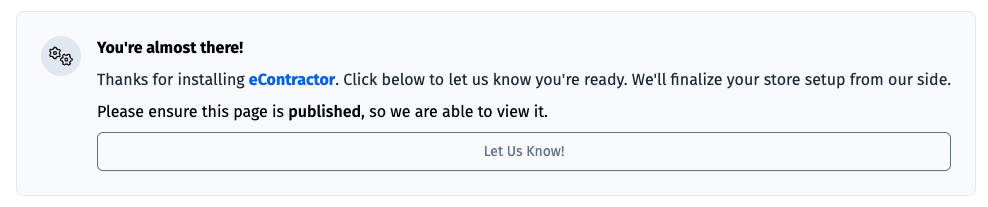
Click Save and Update to make your page live and publicly accessible.
WARNING
⚠️ Please ensure the page is Live before selecting the Let Us Know button, as our team will need to be able to access the page.
Once deployed, go ahead and click on the Let Us Know button. Our team will then get your store live as soon as possible!
TIP
🚀 Once installed and deployed, you’re ready to start driving traffic to your shop page and begin selling!
Still Need Help?
If your unsure about any of the steps above, please feel free to contact our support team.
We are happy to assist with the integration or answer any questions not covered in the documentation.